
Solar Installation Series – Part 1
Introduction
In this post, I will be going over the design and planning of my solar power system. I have built a new building on the farm and the goal is to power the building with renewable energy keeping it off-grid. Solar power was always the goal, but what that looked like was still unknown. However, two well-timed sales made the decision for us. A pallet of solar panels from Signature Solar, and a battery and inverter set from BigBattery.
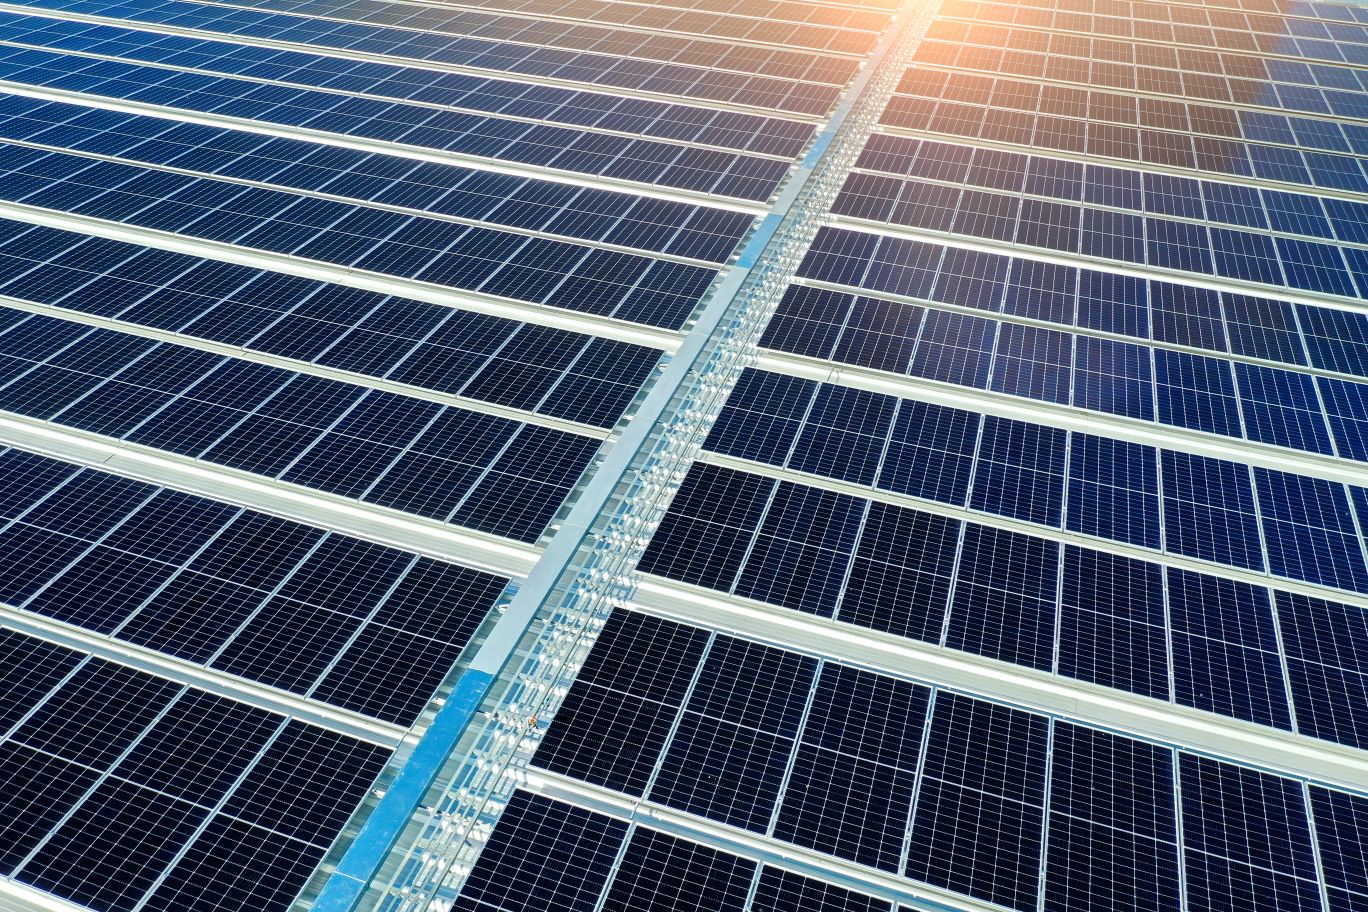
I ended up with 36 Hyperion bifacial solar panels which produce 400W, but can add an additional 100W with the bifacial gain (more on this later). We also bought an EG4 system with two 6000XP off-grid inverters, and three all weather batteries, capable of 42.9 kWh of storage. The challenge, was to get these two systems from different companies to work together as one solar power system.
Important note: All volts and currents in this article dealing with the solar panels, batteries, and inverters are referring to direct current (DC). The only alternating current (AC) in the system is on the inverter output, but we are not covering that in this article.
Product Limits
In order to plan the layout of the solar power system, we had to know what the limits were for each component. The solar panels were going to be the least limiting factor, as their settings were set. That being said, it is important to know that the solar panels are bifacial, which means that there are photovoltaic cells on both sides of the panel. This is used to get the reflection off the ground, or pick up more ambient light during indirect sunlight conditions (cloudy days).
Solar Panels
The data on the solar panels are that they are 400W solar panels that produce 31.01V and 12.90A at max power (400W). However, when you are sizing your solar strings you will go by the open-circuit voltage rating (Voc) and the short-circuit current rating (Isc) for the panels. In this case, the Voc is 37.07V and the Isc is 13.79A.

Batteries
For storage we use EG4 All Weather, 48V, 280Ah batteries, of which we have three. This give a total 42.9 kWh of storage. I know what you’re thinking. 48V x 280 Ah x 3 does not equal 42.9 kWh. That is because these batteries actually operate around 51 volts.
Inverters
The main component(s) and work horse of the solar power system are the EG4 6000XP inverters, of which we have two. These inverters can take in 8 kW of solar inputs each, giving a total of 16 kW of solar input capability, and they can output 6 kW each, giving a total of 12 kW of output.
They each have two Maximum Power Point Tracking (MPPT) inputs for the solar, giving a total of four between the two units. Each MPPT has a max Isc of 25A and a needs a minimum of 120V and a maximum of 385V to operate in the MPPT range. The inverter can take in a minimum of 100V and a maximum of 480V, but operating outside of the MPPT voltage range will be less efficient. The most efficient voltage for the inverter to accept from the panels is listed at 320V. This is important information when it comes to sizing your solar strings.
Electrical Concepts
Hooking up solar panels is as easy as plugging them into each other. However, how you plug them into each other makes all the difference. To figure out how these will need to be plugged in, we need to understand the difference between series and parallel circuits.
You have to think of your panels as batteries when you do your wiring. Instead of getting voltage drops or current divisions, each panel is a source, adding current and voltage to the circuit. Electrically speaking, solar panels are considered constant current sources, which will be important during wire sizing.
Series vs Parallel
When you wire in series, you are attaching the positive of one battery to the negative of the next battery. A series circuit adds the voltage from the sources (panels), but the total current will stay the same. In a parallel circuit, all of the positive terminals of your batteries and all of the negative terminals of your batteries are connected. In this scenario, you are not adding more voltage to the circuit, you are adding more current.

These combinations are not exclusive. Depending on your panels and your inverter system, you may be able to do both series and parallel. You may wire some panels in series to increase the voltage and connect those in parallel to another string of series-wired panels. That will increase the current.
The Flow
An important note: if you are trying to charge a battery, the voltage of your panel needs to be higher than the battery. Think of voltage as the force behind the current. If the force is greater on one side vs the other, the current will flow to the side with the least force.
To better explain this concept, you can look at two water tanks connected by a pipe at the bottom. If the level of one tank is higher than the other (higher voltage in electrical terms), the water will flow to the tank with the least amount of water (lower voltage). If the tanks are the same level there is no flow between them.
This concept is also the reason why, when you have a grid-tie solar power system, you have to have switches in place to prevent the flow of electricity from your panels back to the grid during a power outage (the grid would have the lower voltage). This is to keep the linemen safe as they try to restore power.

Sizing the Strings
**New: Solar Panel String Calculator**
This is where we have to take the electrical concepts that we talked about earlier and the data from our solar panels and run some numbers. The math is not too difficult.
For the roof, there will be twenty panels in total. If I connected all panels in parallel, I would end up with a system that produced 37.1 volts and 275.8 amps! Even if I cut that down to two strings the amps would still be too high. Instead, we will wire everything in series. The question is how many panels can we get in a string. Remember that we need more than 100 volts, but less than 480. To quickly solve this problem, you need to take your max voltage allowed by your inverter and divide it by the Voc of the panel.
Calculating Maximum String Size
480 V / 37.1 V = 12.9 panels. For this number, you must round down, so your max would be 12 panels in a string.
I don’t live in a particularly cold environment, but it does get cold here sometimes. The record low for Nashville, Tn is -18 °F and the record low for Chattanooga, TN is -13 °F, and I live between these two cities. Cold temperatures increase the voltage output of the panels, so it needs to be accounted for, especially in colder environments.

Temperature Considerations
The max voltage accounting for temperature equation is a little more complicated:
Vmax = Voc + ((Tlow – Tstc) * (Cvoc * Voc/100))
where:
Voc = Voltage Open Circuit rating for the panel
TLow = lowest temperature for the area (°C)
TStc = the temperature at which the panels were rated (°C)
Cvoc= temperature coefficient of Voc for the panel (%/°C)
For my panels, Vmax = 37.07 + ((-27.78 – 25) * (-0.27 * (37.07/100)) = 42.35 V.
To figure out the total number of panels while factoring in cold temperatures, we need to divide 480 by 42.35 which equals 11.33. Again, you must round down so the total number of panels is 11.
For my setup with 20 panels total, ten panels per string worked out perfectly. Staying below the maximum and well above the minimum voltage limits. However, in really cold days, I will be outside of the efficient range of the MPPT.
Wire Sizing
The last thing we are going to talk about is wire sizing. This can be overlooked by many DIY installers. You may think a wire is a wire and as long as there’s continuity, then it’s okay. WRONG! Wire size is incredibly important when you are dealing with long distances and high current flow. This is definitely important if the voltages are low.
Ampacity
A simple Google search can fill your screen with wire ampacity charts. Ampacity is the maximum current a wire can continuously carry. In my case, I would need to run a minimum of 14 awg wire to handle the current. However, ampacity only tells part of the story. When you have significant distances (more than 20 feet from the source), you need to consider voltage drop.
Voltage Drop
Every wire has resistance. A resistor in a circuit results in a voltage drop across the resistor according to Ohm’s Law. There are many charts out there that show wire gauge needed for a given length and amperage, but they assume voltages much lower than what I am using, plus I like to do math, so we’ll use a formula.
The voltage drop formula is:
Where:
L = length of wire (one-way, ft).
R = Resistance of the wire (Ω/1000 ft).
I = Current (Amps)
Calculating Voltage Drop
R for a 14 awg wire is 2.58 Ω per 1000 ft. Plugging that into the above formula with I = 13.79 A, and L = 90 ft, we end up with a voltage drop of 6.404 V. Which is approximately 1.7% of the 370.1 Voc the string could produce, which is an excellent result. If you were to find that the voltage drop is more than you can allow, the simplest solution is to go up in wire size (lower number awg). For example a 10 awg wire has 1.02 Ω per 1000 ft, which would result in a 2.58 volt drop. Nearly 1/3 of the voltage drop of the 14 awg wire.
Because voltage drop is dependent on current and resistance and not voltage supplied, it is more efficient to supply more voltage and less amps when sizing your strings. If this were a 12V DC circuit, the voltage drop would still be 6.404 V, however, the percentage of voltage lost would be 53.4%!
Oversize
I will admit that running 14 awg wire over 90 ft gives me the heebee jeebees, even if the math checks out. Plus, I like to design my solar power system with future expansion in mind. What if I get bigger, more capable inverters, or higher wattage solar panels (if they become available)? I want my system to able to adapt easily without having to run new wire. So for this system we will be going with 10 awg wire for all solar runs.
Stay tuned for the next post which will be about mounting structures for the panels
Thank you!
Thank you for reading my post. If you find that you gained some knowledge and would like to read more, please consider subscribing. It’s free and it helps us get sponsors for future content. Also if you feel we are worthy of a small donation, you can leave a tip at the button below. Every little bit helps as the projects can be quite costly.
Leave a Reply